SanDisk Sansa Clip Instruction Manual: A Comprehensive Guide

SanDisk’s Sansa Clip is a portable MP3 player boasting a sleek design, removable clip, and integrated FM radio. Enjoy up to 15 hours of playback!
Congratulations on selecting the SanDisk Sansa Clip, a remarkably compact and versatile digital audio player designed for on-the-go music enjoyment. This user manual serves as your comprehensive guide to unlocking the full potential of your new device. The Sansa Clip distinguishes itself with its lightweight build and convenient clip-on functionality, making it an ideal companion for workouts, commutes, or simply relaxing with your favorite tunes.
Beyond its core function as an MP3 player, the Sansa Clip incorporates a built-in FM radio, allowing you to tune into local broadcasts wherever you are. A practical integrated microphone enables voice recording, adding another layer of utility. The device supports a variety of popular audio formats, ensuring compatibility with your existing music library. This manual will walk you through setup, operation, and troubleshooting, ensuring a seamless and satisfying user experience. Prepare to immerse yourself in a world of portable audio with your SanDisk Sansa Clip!
Unboxing and Initial Setup
Upon opening your SanDisk Sansa Clip package, verify that all components are present. You should find the Sansa Clip MP3 player itself, a pair of earbuds, and a micro-USB cable for charging and data transfer. Carefully remove the player and inspect it for any visible damage. Before first use, it’s crucial to fully charge the device. Connect the Sansa Clip to a powered USB port on your computer using the provided cable.
A charging indicator will illuminate, signifying that the battery is replenishing. Allow several hours for a complete charge. While charging, you can download and install any necessary drivers if prompted by your computer. Once charged, power on the device by pressing and holding the power button. Follow the on-screen prompts to set your preferred language, date, and time. Your Sansa Clip is now ready to be populated with your favorite music and audiobooks! Refer to the following sections for detailed instructions on transferring files and navigating the user interface.
Device Overview: Buttons and Ports
The SanDisk Sansa Clip features a minimalist design with intuitive controls. Located on the front of the device are four primary buttons: a directional pad for navigation, a select/play/pause button, and volume control buttons. The directional pad allows you to scroll through menus, playlists, and radio stations. The select button confirms selections and initiates playback. Volume buttons adjust the audio level to your preference.
On the top edge, you’ll find the power button, used for turning the device on and off, and locking/unlocking the screen. The side of the Sansa Clip houses a micro-USB port, serving dual purposes for charging the internal battery and transferring data to and from your computer. A standard 3.5mm headphone jack is located on the bottom, allowing you to connect your favorite headphones or earbuds for private listening. The integrated clip on the back enables convenient attachment to clothing or gear, making it ideal for workouts or on-the-go listening.
Powering On/Off and Basic Operations
To power on your SanDisk Sansa Clip, press and hold the power button located on the top of the device for a few seconds until the screen illuminates. The device will boot up and display the main menu. To power off, repeat this process – press and hold the power button until the screen prompts you to confirm the shutdown. Select “Power Off” using the directional pad and the select button.
Basic operations are straightforward. Use the directional pad to navigate through the menu options, such as Music, Radio, and Settings. Press the select button to choose an option. To adjust the volume, use the dedicated volume buttons on the side of the device. During music playback, the select button acts as a play/pause control. Pressing the directional pad left or right skips to the previous or next track, respectively. Holding the volume up or down buttons fast-forwards or rewinds within a track. Familiarize yourself with these simple controls for a seamless listening experience.
Navigating the User Interface
The SanDisk Sansa Clip features a simple, intuitive user interface designed for ease of use. The main menu presents options like Music, Radio, Recordings, and Settings, accessible via the directional pad. Press ‘Up’ or ‘Down’ to highlight your desired option, then press the ‘Select’ button to enter. Within each menu, further sub-menus are navigated using the same directional controls.
The display screen, though compact, clearly presents information about the currently playing track, radio station, or menu selection. A progress bar indicates playback position. To return to the previous menu, press the ‘Back’ button. Long-pressing the ‘Menu’ button often reveals additional options or settings within a specific screen. Experimenting with the directional pad and select button is key to mastering the interface. The interface is designed for quick access to your music and radio, ensuring a user-friendly experience even on the go.
Transferring Music to Your Sansa Clip
To transfer music to your SanDisk Sansa Clip, connect the device to your computer using the included USB cable; Your computer will recognize the Sansa Clip as a removable drive. Open the drive in your file explorer (Windows) or Finder (Mac). You can then simply drag and drop your MP3, WAV, or WMA files directly into the Sansa Clip’s folder.
Alternatively, you can use Windows Media Player or iTunes to sync music to the device. Ensure your music files are properly tagged with artist, album, and track information for optimal organization on the player. Once the transfer is complete, safely eject the Sansa Clip from your computer before disconnecting the USB cable. The player will automatically scan for new music and update its library. Regularly backing up your music library is recommended to prevent data loss.

Supported Audio Formats
The SanDisk Sansa Clip is designed to play a variety of popular audio file formats, ensuring compatibility with most of your existing music libraries. Primarily, the device natively supports MP3 files, which are widely used due to their balance of quality and file size. Beyond MP3, the Sansa Clip also accommodates WAV files, offering lossless audio quality for audiophiles.
Furthermore, the player is capable of playing WMA (Windows Media Audio) files, providing another option for compressed audio. Secure WMA, a DRM-protected version of WMA, is also supported, though its use is becoming less common. Finally, the Sansa Clip can handle Audiobook files, making it a convenient device for listening to spoken word content. Unsupported formats will not play on the device.
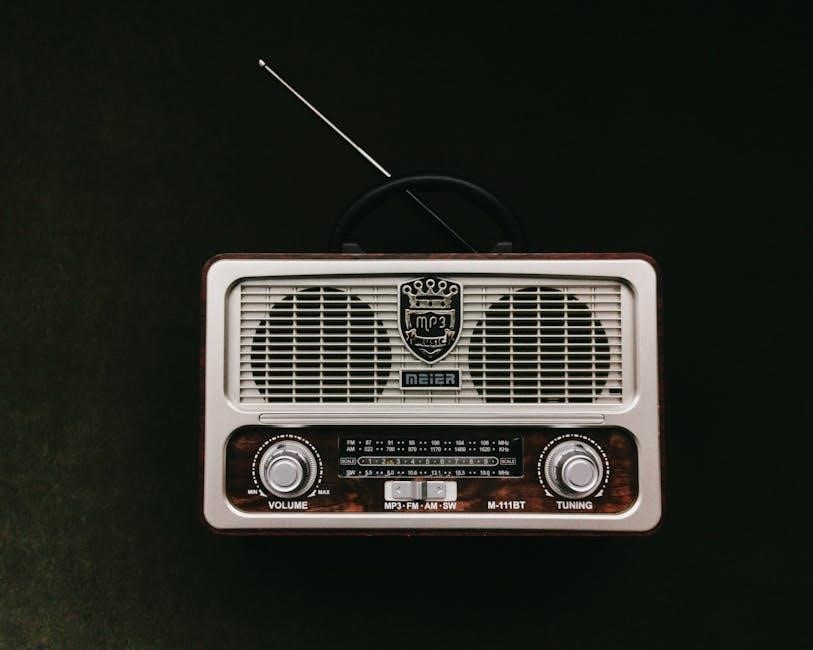
Using the FM Radio Feature
The SanDisk Sansa Clip includes a built-in FM radio, allowing you to listen to live broadcasts when you’re on the go. To access the FM radio, navigate to the radio option within the device’s menu. Before using the radio, headphones must be connected, as they function as the antenna.
Once the radio is activated, you can scan for available stations. The Sansa Clip allows you to save your favorite stations for quick access. Use the navigation buttons to tune to different frequencies and select desired stations. You can also adjust the volume using the volume controls. The radio feature provides a convenient alternative to pre-loaded music, offering a diverse range of listening options. Ensure proper headphone connection for optimal reception.
Recording with the Built-in Microphone
The SanDisk Sansa Clip features a built-in microphone, enabling you to record voice memos, lectures, or any audio you wish to capture. To begin recording, access the recording function through the device’s menu. Ensure you have sufficient storage space available before initiating a recording. The recording quality depends on the proximity to the sound source and ambient noise levels.
Once recording starts, your voice or the surrounding sounds will be saved as an audio file. You can pause and resume recording as needed. After completing the recording, you can review and save the file. The recorded files can then be transferred to your computer for archiving or further editing. This feature is ideal for capturing important notes or spontaneous ideas while on the move, offering a convenient audio recording solution.
Creating and Managing Playlists
The SanDisk Sansa Clip allows you to create and manage personalized playlists, enhancing your listening experience. To create a new playlist, navigate to the playlist section within the device’s menu. You can then add songs from your music library to the playlist. The player supports adding songs individually or selecting multiple tracks at once for efficient playlist creation.
Once created, playlists can be easily edited. You can rearrange the order of songs, remove unwanted tracks, or rename the playlist to reflect its content. Managing playlists allows for customized listening sessions tailored to your mood or activity. The Sansa Clip’s intuitive interface makes playlist management straightforward, ensuring a seamless and enjoyable music experience. Regularly updating your playlists keeps your music library fresh and organized.
Adjusting Audio Settings (Equalizer)
The SanDisk Sansa Clip offers customizable audio settings, including an equalizer, to tailor the sound to your preferences. Access the equalizer through the device’s settings menu. Here, you’ll find preset equalizer options designed for various music genres, such as Rock, Pop, Classical, and Jazz. These presets adjust the frequency levels to optimize the sound for each genre.
For more advanced control, you can manually adjust the equalizer bands. This allows you to fine-tune the audio to match your specific listening tastes and the characteristics of your headphones or speakers. Experimenting with different equalizer settings can significantly enhance your music enjoyment. Remember to save your custom settings for future use. Properly adjusted audio settings ensure the best possible sound quality from your Sansa Clip.
Battery Life and Charging
The SanDisk Sansa Clip is equipped with a built-in rechargeable battery, providing up to 15 hours of continuous music playback on a full charge. Battery life can vary depending on usage, including volume level, headphone type, and features like the FM radio or voice recording. To maximize battery life, consider lowering the volume and minimizing the use of power-intensive features.
Charging the Sansa Clip is simple. Connect the device to a computer or a USB power adapter using the included USB cable. A full charge typically takes several hours. While charging, the device may display a charging indicator on the screen. Avoid exposing the device to extreme temperatures during charging. Regularly charging and discharging the battery helps maintain its overall health and longevity.
Troubleshooting Common Issues
If your SanDisk Sansa Clip isn’t responding, try a simple reset by holding the power button for an extended period. If the device freezes during playback, attempt the same reset procedure. For issues with file transfer, ensure the USB cable is securely connected and the device is recognized by your computer. Verify the audio files are in a supported format (MP3, WAV, WMA).
If the FM radio isn’t working, check that headphones are properly connected, as they act as the antenna. If you encounter problems with voice recording, ensure sufficient storage space is available. Before contacting technical support, consult the online resources for frequently asked questions and detailed troubleshooting guides. Remember to check for firmware updates, as these often address known issues and improve device performance.
Firmware Updates and Rockbox
Keeping your SanDisk Sansa Clip’s firmware updated is crucial for optimal performance and stability. SanDisk periodically releases updates that address bugs, improve compatibility, and sometimes add new features. Check the SanDisk support website regularly for available updates and follow the provided instructions carefully during the installation process. Back up any important data before updating, as a precaution.
Beyond the official firmware, many Sansa Clip users explore alternative firmware like Rockbox. Rockbox is an open-source project offering a highly customizable interface, expanded audio codec support, and additional features not found in the stock firmware. Installing Rockbox is a more advanced process and may void your warranty, so proceed with caution and follow the Rockbox documentation thoroughly. It unlocks significant potential for audiophiles and power users.
Safety Precautions and Warranty Information
To ensure safe usage of your SanDisk Sansa Clip, avoid exposing it to extreme temperatures, humidity, or direct sunlight for extended periods. Do not disassemble the device, as this will void the warranty and could pose a safety risk. Use only the provided or SanDisk-approved accessories for charging and data transfer. Prolonged listening at high volumes may damage your hearing, so maintain a reasonable volume level.

Your Sansa Clip is covered by a limited warranty against defects in materials and workmanship. The warranty period varies depending on your region, so consult the SanDisk website or the documentation included with your device for specific details. To initiate a warranty claim, you’ll typically need proof of purchase and a description of the issue. The warranty does not cover damage caused by misuse, accidents, or unauthorized modifications. For detailed warranty terms, visit the official SanDisk support page.
Technical Specifications
The SanDisk Sansa Clip boasts a compact design with dimensions suitable for portable use. It features a 1.0-inch display screen for basic navigation and information display. Storage capacity options include 1GB and 2GB, allowing for ample music storage. Supported audio formats encompass MP3, WAV, WMA, Secure WMA, and Audiobook files, ensuring compatibility with a wide range of audio libraries.
Connectivity options include a standard USB port for data transfer and charging. The integrated FM radio tuner allows for listening to live broadcasts (where available). Battery life is rated up to 15 hours of continuous playback on a full charge. The device incorporates a built-in microphone for voice recording capabilities. It operates on a rechargeable battery and supports various audio settings for personalized listening experiences. The Sansa Clip is designed for ease of use and portability, making it an ideal companion for music enthusiasts.
Accessories and Where to Find Them
The SanDisk Sansa Clip typically includes a basic package containing the MP3 player itself and a USB cable for data transfer and charging. Additional accessories, such as headphones or earbuds, are often sold separately to provide a personalized listening experience. Replacement USB cables can be readily found at most electronics retailers or online marketplaces.
While SanDisk no longer actively manufactures the Sansa line, you can still locate accessories through online auction sites like eBay, or specialized retailers focusing on discontinued electronics. Searching for “Sansa Clip accessories” will yield relevant results. Consider checking online forums and communities dedicated to Sansa players, as users often sell or trade accessories. Be sure to verify the compatibility of any purchased accessories with your specific Sansa Clip model. Third-party accessories offering similar functionality are also widely available.