The FreeStyle Freedom Lite system offers a user-friendly experience, detailed in its comprehensive manual, for effective blood glucose monitoring and management.
What is the FreeStyle Freedom Lite?
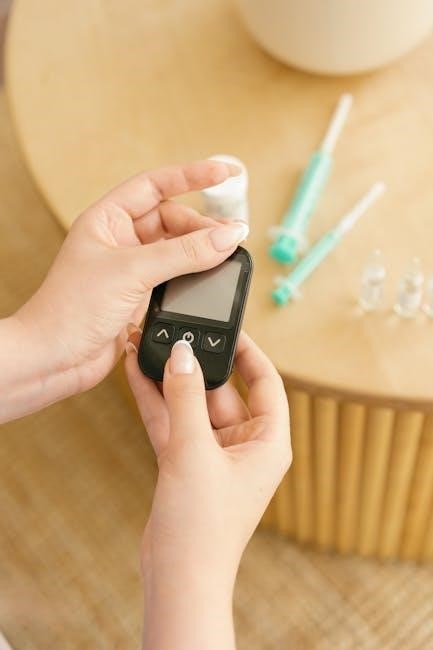
The FreeStyle Freedom Lite blood glucose monitoring system is a compact and reliable device designed for individuals managing diabetes. As detailed in the Abbott FreeStyle Freedom Lite user manual, this system provides accurate blood glucose readings with minimal discomfort. It’s a no-coding meter, simplifying the testing process and reducing potential errors.
The system, as outlined in available owners booklets, prioritizes virtually pain-free testing. The manual emphasizes the importance of reading all instructions thoroughly before use. It’s intended to empower users with the information needed for effective self-monitoring, contributing to better diabetes control. Accessing the full user manual is crucial for understanding all features and functionalities.
Key Features and Benefits
The FreeStyle Freedom Lite, as described in its user manual, boasts several key features. These include its small sample size requirement, minimizing discomfort during testing. The no-coding functionality, highlighted in owner’s booklets, simplifies setup and reduces the risk of inaccurate results.
Benefits extend to its ease of use, making it suitable for a wide range of users. The manual details how to interpret readings effectively. Its compact design enhances portability. The system aims to provide reliable data for informed diabetes management decisions, empowering individuals to proactively monitor their health. Comprehensive guidance is available within the provided documentation.
Intended Use
According to the FreeStyle Freedom Lite user manual, this blood glucose monitoring system is intended for in vitro diagnostic use. It’s designed to quantitatively measure glucose levels in fresh capillary whole blood. This system is specifically intended for self-testing by individuals with diabetes at home.
The manual emphasizes its role in assisting individuals manage their diabetes, not for diagnosing or making treatment decisions. Healthcare professionals should always be consulted for these purposes. The system provides valuable data to supplement, but not replace, regular medical care and monitoring as outlined by a physician’s guidance.
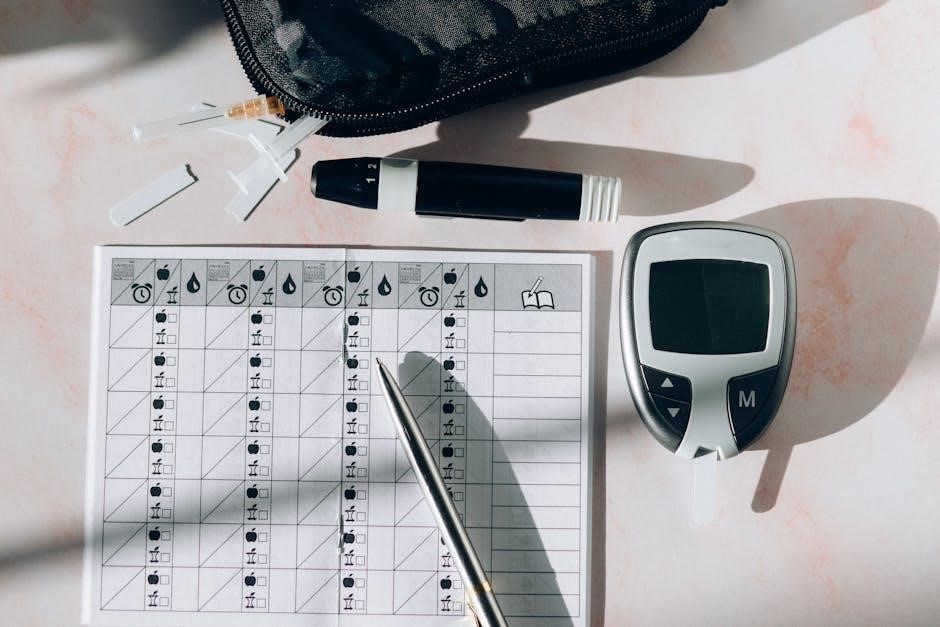
Kit Contents
The FreeStyle Freedom Lite kit includes a meter, test strips, a lancing device, lancets, a control solution, and a user manual for guidance.
Meter Components
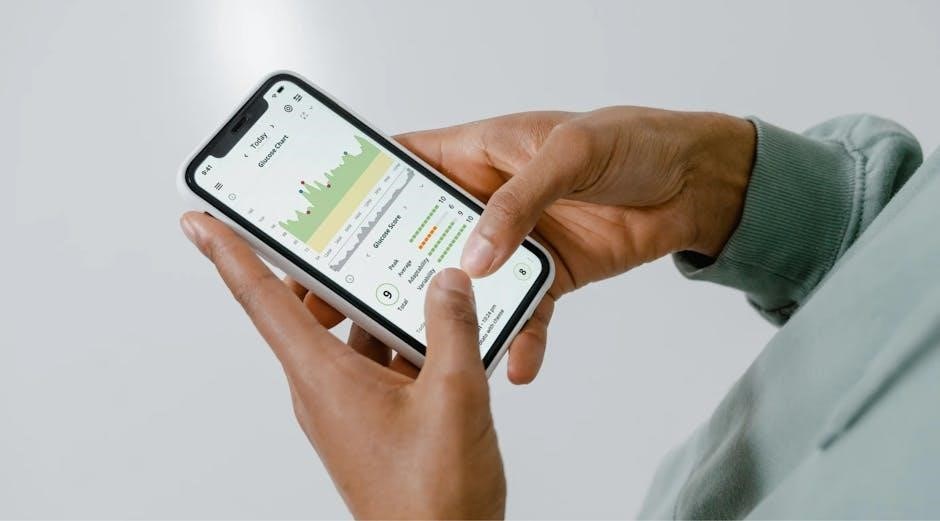
The FreeStyle Freedom Lite meter is designed for simplicity and accuracy. Key components include a large, easy-to-read display showing glucose results, a test strip port for inserting test strips, and buttons for operation – typically including a power/test button and memory recall buttons. The meter’s compact size makes it portable and convenient. It requires a battery, often a standard coin cell, for power. The user manual details each component’s function and proper usage. Understanding these parts is crucial for accurate testing. The meter also features a micro-USB port for data transfer, allowing users to download their readings for tracking and analysis, as described in the comprehensive guide.
Test Strip Information
FreeStyle Freedom Lite test strips are essential for accurate glucose readings. The user manual emphasizes using only Abbott-branded test strips, as others may yield inaccurate results. These strips feature a unique design for easy handling and precise blood application. They are designed for single use only and should be stored in a cool, dry place, keeping the container tightly closed. The manual details how to properly insert the strip into the meter, ensuring the correct orientation. Expired or damaged strips should never be used, as they can compromise test accuracy. Proper strip handling is vital for reliable monitoring.
Control Solution Details
The FreeStyle Freedom Lite user manual explains the importance of control solution testing. This verifies the meter and test strips are functioning correctly. Control solution isn’t a substitute for regular blood glucose testing, but confirms system accuracy. The manual details how to apply the control solution to a test strip, mimicking a blood sample. Results should fall within the range specified on the vial. If results are outside this range, troubleshooting steps are outlined in the manual. Regular control solution testing, as described, ensures reliable results and peace of mind regarding meter performance.
Setting Up Your Meter
The FreeStyle Freedom Lite manual guides users through initial setup, including battery insertion and precise date/time configuration for accurate test tracking.
Inserting the Battery
Refer to your FreeStyle Freedom Lite user manual for detailed battery insertion instructions. Typically, the meter requires a standard battery, often a CR2032. Locate the battery compartment, usually on the back of the meter, and gently slide off the cover.
Pay close attention to the polarity markings (+ and -) inside the compartment. Insert the new battery, ensuring the positive and negative terminals align correctly. Replace the battery cover securely until it clicks into place.
A properly installed battery will power on the meter and display the welcome screen. If the display remains blank, double-check the battery’s orientation and ensure it’s making good contact. Always dispose of used batteries responsibly, following local regulations.
Setting the Date and Time
Consult the FreeStyle Freedom Lite user manual for precise date and time setting procedures. Generally, after inserting the battery, the meter prompts you to set the date and time. Use the buttons on the meter to navigate through the year, month, and day, adjusting each value as needed.
Similarly, set the hour and minute, paying attention to AM/PM selection if applicable. Confirm each setting by pressing the designated button. Accurate date and time are crucial for proper data logging and tracking of your blood glucose readings.
Incorrect settings can affect the accuracy of historical data analysis. Refer to the manual’s illustrations for a visual guide to the process.

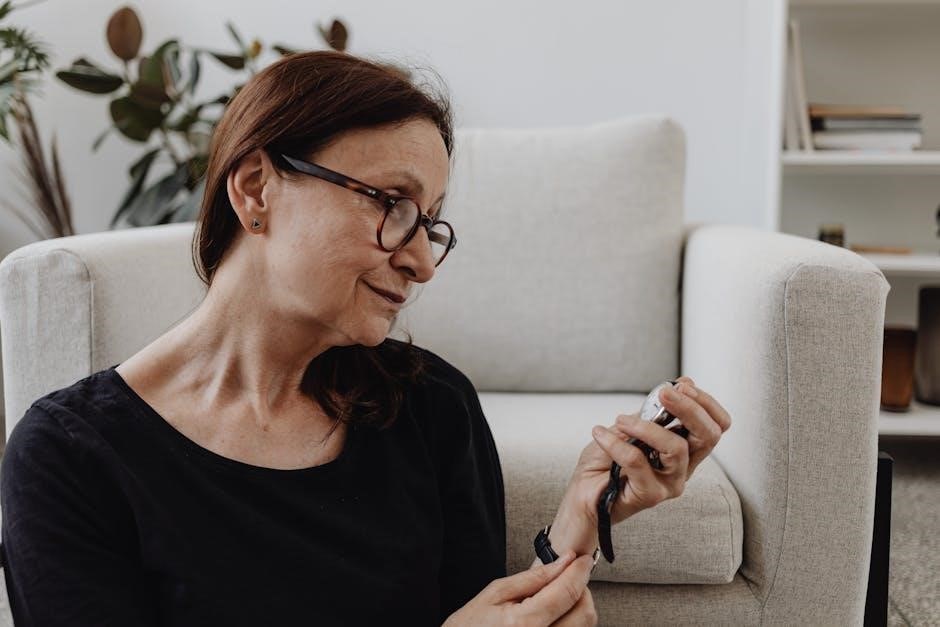
Performing a Blood Glucose Test
The FreeStyle Freedom Lite manual guides users through a simple testing process: prepare the lancing device, obtain a sample, and apply it to the test strip.
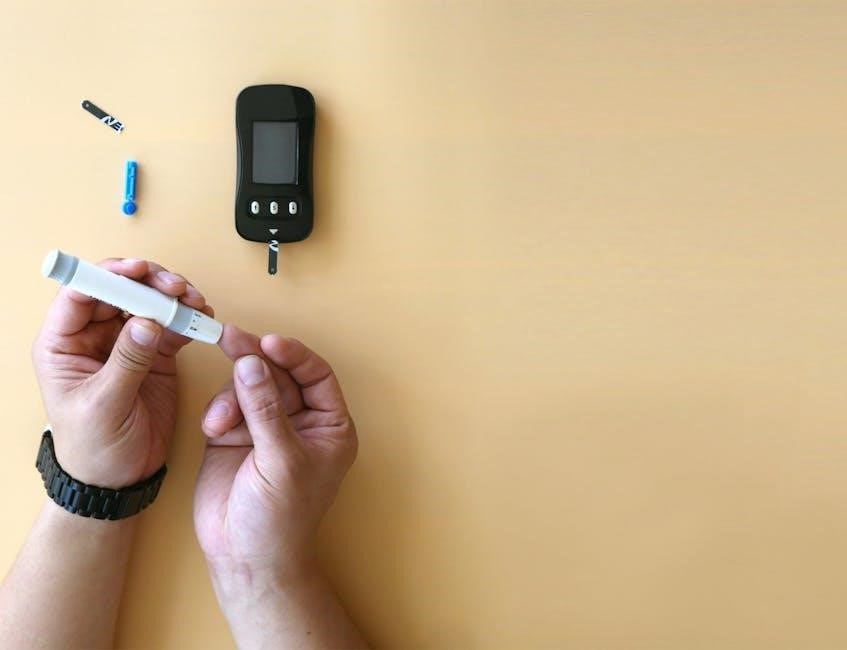
Preparing the Lancing Device
According to the FreeStyle Freedom Lite user manual, preparing the lancing device is a crucial step for a comfortable and accurate blood glucose test. First, firmly attach a new, sterile lancet into the lancing device, twisting until securely locked. Adjust the depth setting based on your skin type; start with a shallower setting and increase if needed to obtain an adequate blood sample.
Cock the lancing device, which prepares it for use. Ensure you have a clean alcohol wipe ready to disinfect the fingertip before lancing. The manual emphasizes using a fresh lancet for each test to maintain sterility and minimize discomfort. Proper preparation ensures a virtually pain-free testing experience, a key feature of the FreeStyle Lite system.
Obtaining a Blood Sample
The FreeStyle Freedom Lite user manual details the proper technique for obtaining a blood sample. After preparing the lancing device, cleanse the chosen fingertip with an alcohol wipe and allow it to dry completely. Gently press the lancing device firmly against the side of the fingertip, avoiding the center. Press the release button to lance the skin.
Immediately after lancing, gently massage the fingertip towards the puncture site to encourage a small drop of blood to form. Avoid squeezing excessively, as this can dilute the sample with tissue fluid, potentially affecting accuracy. The manual stresses the importance of a sufficient drop for reliable results.
Applying Blood to the Test Strip
The FreeStyle Freedom Lite user manual clearly illustrates how to correctly apply the blood sample to the test strip. Once a sufficient drop of blood is obtained, bring the blood drop to the designated sample area on the test strip. The strip will automatically draw the required amount of blood via capillary action – do not smear or wipe the blood onto the strip.
Ensure the sample area is fully covered; insufficient blood will result in an error message. The manual emphasizes avoiding touching the sample area to maintain hygiene and prevent contamination. Wait for the meter to display the blood glucose result, as indicated in the guide.
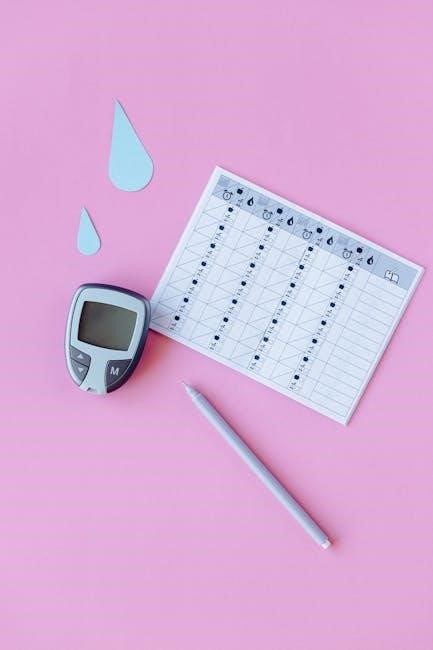
Understanding Your Results
The FreeStyle Freedom Lite manual guides users in interpreting meter readings, defining target ranges, and understanding how results relate to diabetes management.
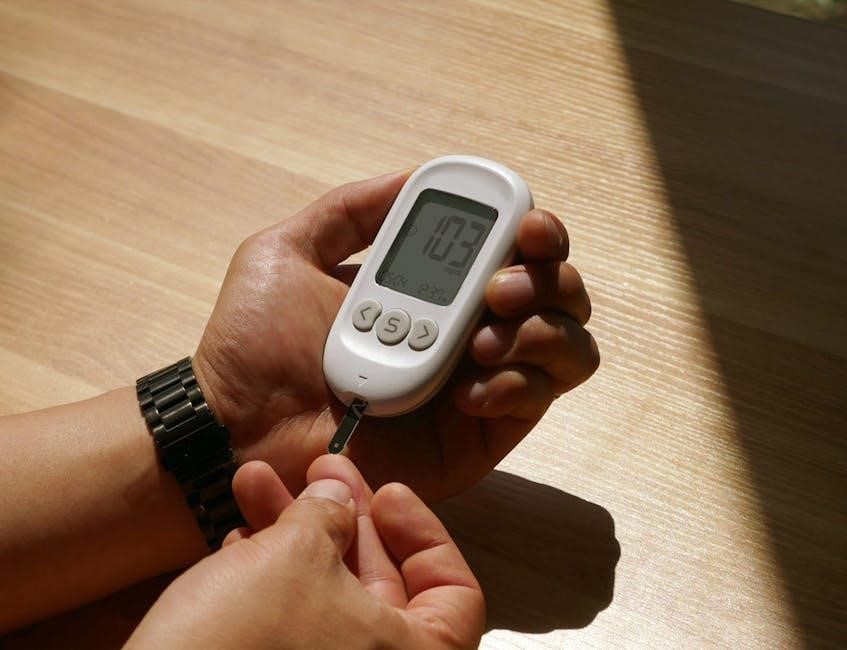
Reading the Meter Display
The FreeStyle Freedom Lite meter’s display provides clear and concise blood glucose readings. As detailed in the user manual, the display shows your current glucose level in milligrams per deciliter (mg/dL). It also features indicators for low (Hypo) and high (Hyper) results, alerting you to potentially dangerous levels.
The manual explains the meaning of various symbols, including the ketone warning, strip error, and control solution range indicators. Familiarizing yourself with these symbols, as outlined in the guide, is crucial for accurate interpretation. The display also shows the date and time, allowing you to track your readings effectively. Proper understanding of the display, guided by the manual, ensures informed diabetes management.
Target Range and Interpretation
The FreeStyle Freedom Lite user manual emphasizes the importance of understanding your personal target range, determined with your healthcare provider. Generally, a target range of 70-100 mg/dL before meals and less than 140 mg/dL two hours after meals is recommended, but individual needs vary.
The manual details how to interpret readings outside this range. High readings may indicate the need for dietary adjustments or medication, while low readings require immediate action to prevent hypoglycemia. Consistent monitoring, guided by the manual’s instructions, helps identify patterns and optimize glucose control. Always consult your doctor for personalized guidance and interpretation of your results.
Meter Care and Maintenance
The FreeStyle Freedom Lite manual stresses regular cleaning with a damp cloth and proper storage of the meter and test strips for optimal performance.
Cleaning the Meter
According to the FreeStyle Freedom Lite user manual, regular cleaning ensures accurate results and extends the life of your meter. Before cleaning, always disconnect any testing supplies. Gently wipe the exterior of the meter with a slightly damp cloth; avoid using harsh chemicals or abrasive cleaners, as these can damage the device.
Pay particular attention to the test strip port, ensuring no blood or debris remains. Do not immerse the meter in water or any other liquid. After cleaning, allow the meter to dry completely before reattaching any components or performing a test. Consistent cleaning, as outlined in the manual, is crucial for maintaining the meter’s functionality and reliability.
Storing the Meter and Test Strips
The FreeStyle Freedom Lite user manual emphasizes proper storage for optimal performance. Store the meter in a clean, dry place, away from extreme temperatures and humidity. Avoid direct sunlight and keep it out of reach of children. Test strips should also be stored in their original vial, tightly closed, and in a cool, dry location.
Do not refrigerate or freeze test strips. The manual cautions against using strips past their expiration date, as this can lead to inaccurate readings. Proper storage, as detailed in the guide, preserves the integrity of both the meter and the test strips, ensuring reliable blood glucose monitoring.
Troubleshooting
The FreeStyle Freedom Lite manual provides solutions for error messages and common issues, guiding users through resolving problems for accurate glucose readings.
Error Messages and Solutions
The FreeStyle Freedom Lite user manual details various error messages that may appear on the meter display, offering specific troubleshooting steps for each. For instance, an “E-1” error often indicates a test strip issue – ensure proper insertion and check the expiration date. “E-2” might signal a sample application problem; re-test with a sufficient blood drop.
The manual emphasizes that consistently repeating errors require contacting Abbott customer support. It also clarifies that some messages, like those related to meter malfunction, necessitate a replacement device. Always refer to the manual’s detailed charts for precise guidance, as attempting self-repair could compromise accuracy and safety. Proper interpretation of these codes, as outlined in the manual, is crucial for reliable monitoring.
Common Issues and How to Resolve Them
The FreeStyle Freedom Lite user manual addresses frequent user concerns. Inconsistent readings are often due to improper testing technique – ensure adequate blood sample size and correct strip application. If the meter seems unresponsive, check the battery; replacement is straightforward, as detailed in the manual. Difficulty obtaining a blood sample can be alleviated by adjusting the lancing device depth.
The manual stresses the importance of storing test strips correctly to maintain accuracy. Should the meter display unexpected results, comparing with a control solution test (instructions within the manual) can help determine if the meter itself is functioning correctly. For persistent issues, the manual directs users to Abbott’s customer support for assistance.
Important Safety Information
The FreeStyle Freedom Lite user manual emphasizes crucial safety precautions. This device is for in vitro diagnostic use only; never self-treat based solely on meter readings. Always consult a healthcare professional for medical decisions. The lancing device contains sharp lancets – handle and dispose of them carefully, following the manual’s guidelines to prevent injury and infection.
Test strips and control solution are for external use only. Avoid sharing the lancing device with others. The manual cautions against using the system in environments outside the specified operating conditions. Keep all components out of reach of children. Refer to the manual for complete safety warnings and contraindications.